1. Gather information
Before you start planning something, you need to get the exact template or as the printer to survey the building and provide you the template. It is important to create the exact template of the customer’s building to create a design that is the same size and print as possible. Building wrap registration files or templates can be large and complex, and most printing companies can charge the customer $ 100 to $ 250 for all adjustments depending on building complexity and location.
If you will be providing the template file and design keep in mind that each building wrap printing company may have different file requirements or printing processes, so it’s important to gather as much information as possible before you even start designing.
Lastly, provide us with a few pictures of the actual building you want to wrap so we can figure out what kind of equipment we may need for reaching higher areas.
2. Gather inspiration
Now that you have all the technical information, it’s time to think about how to make your building wrap dream come true. Let’s say you already have your logo and ad text ready.

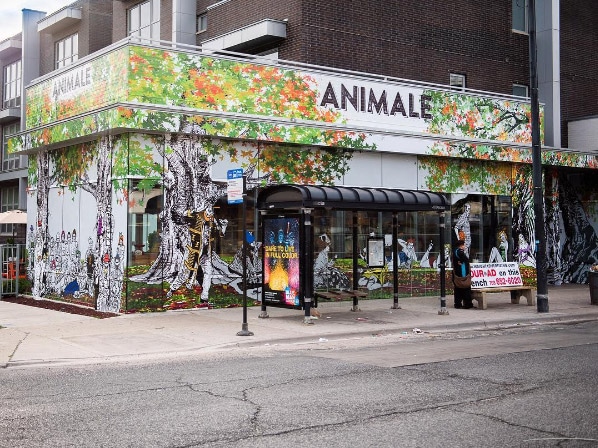
Custom building wrap Chicago
Although not always recommended, many customers prefer to include pictures in the building wrap design. You will need to research and purchase very high resolution images of at least 300 dpi . You may need to prepare a stock photography budget.
It is always a good idea to simplify the design of building wrap decoration, especially when promoting customer activity. Your client can drive on the street at 25 miles per hour or more, so you need to make sure you can read the brand’s message in seconds.
This is a Pinterest panel and a cool car packaging design gallery to get you started.
3. Create the design
Now that you have a picture of your customer’s building, you can use it to draw your design quickly. You can also create a design in the template directory, but many designers find it easier to design cars in Photoshop or Adobe Illustrator
It doesn’t look exactly like the final building wrap, but it’s easy to see the graphics when you find them in the corners or on the round surface of the building.
Before displaying the template file to clients, make sure that you can easily recreate the model you created or apply it to the template file. Lifetime models are useful for making your design look real to customers and get approval for the final design. However, it’s important to manage expectations properly by showing designs that can be achieved in the real world rather than beautiful designs in Photoshop.
4. Apply the design to the template

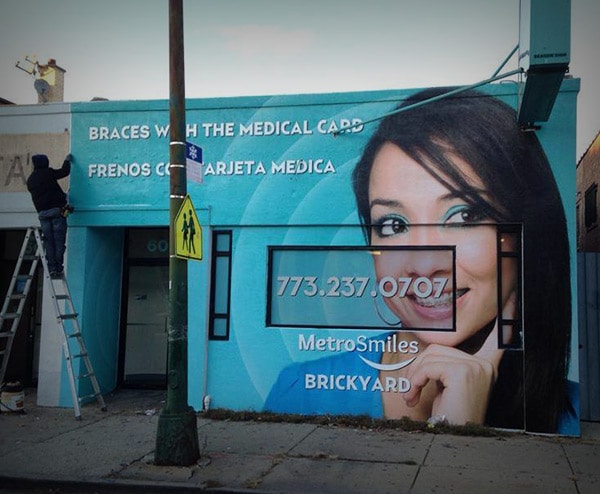
Custom building wrap advertising
Building wrap print files can be easily created either in Adobe Illustrator or Photoshop.
Many building wrap printers accept both PSD and AI files, though.
Basic things to consider:
- Set your document color mode to CMYK
- One way to create the design to scale is to use 1:10 ratio
- Set the document ppi to 720
- Use high resolution photos/raster images if they’re part of the design
- Convert all fonts to outlines
- Label and organize each part into separate layers and make sure that each graphic has it’s own sublayer.
- Add 5-10 in bleeds to each piece of the template. The design will have to wrap around objects like the edges of doors, and adding
5. Deliver the files
Provide us with .ai or .pdf files, in addition to uncompressed .tiff building wrap packaging files. This ensures that they know the name or license for all fonts used in your project.
If photos or other raster images have been used in the design, include a raw photo file, so we can use it, if we need to edit the files. See the building wrap envelope file properties for a more detailed example of the file specifications.
Building wraps packaging designs can be difficult, but they can be one of the most exciting examples of watching your designs come to life on a building.